
A phase-by-phase Probably Stolen walkthrough for the first 10 days: appraisal, first stock, rent cover, and the mistakes that end runs early.
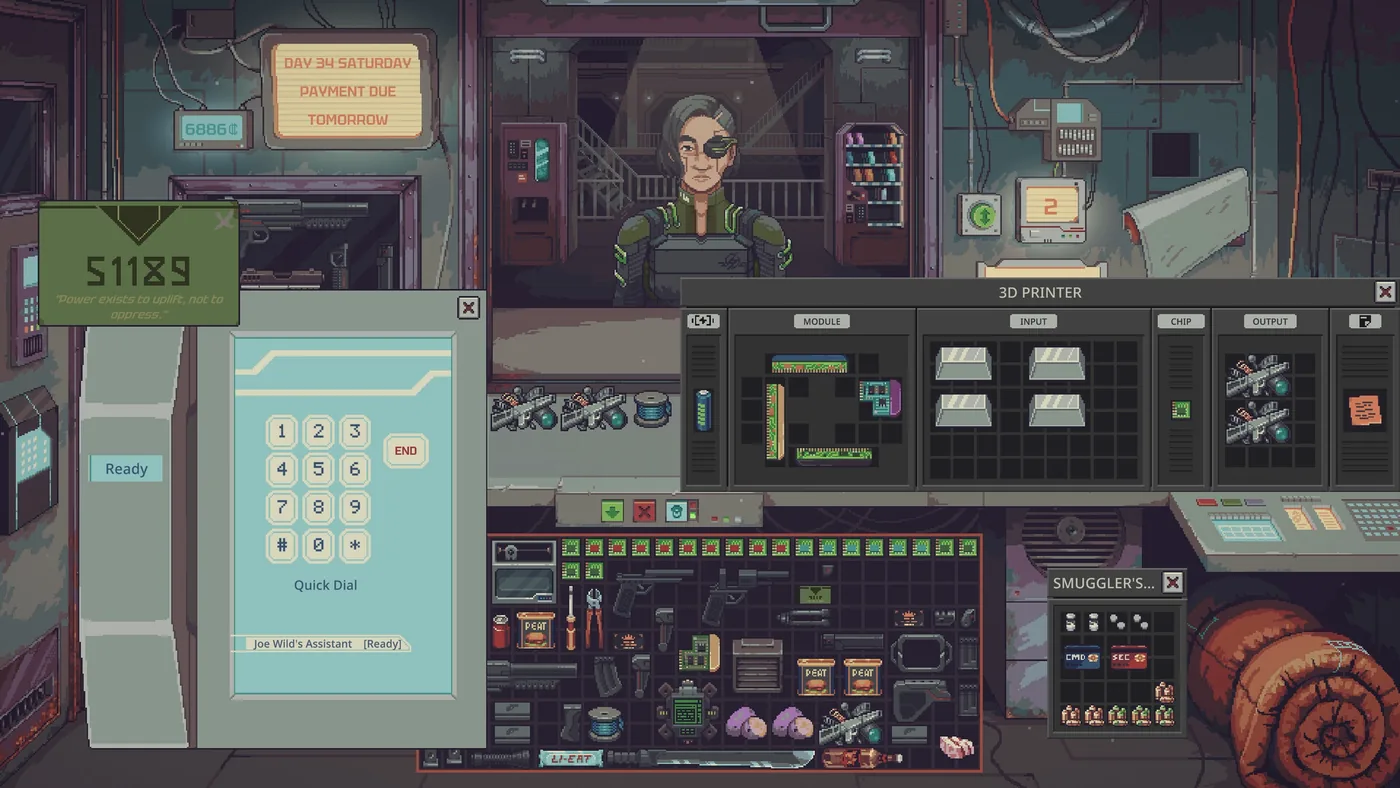
Probably Stolen Walkthrough: First 10 Days
The first ten days are a liquidity test, not a story race. Appraise everything, sell one product lane well, keep enough credits for the next rent before you buy a machine, and do not touch contraband until you can afford a raid. If you can end day 10 with the rent covered, one reliable supplier and no open criminal case, you are ahead of most first runs.
This walkthrough is written for the retail build, currently 1.0.0.6. It avoids exact rent figures because difficulty, events and faction multipliers change them. Where a number is fixed in the build, it is marked with the patch that changed it.
Before day 1: what the tutorial does not tell you
The tutorial teaches three things: pick up an item, appraise it, complete a sale. It does not teach the two systems that decide the run.
The first is the rent clock. Your ledger shows the next payment and the amount. That number is the boundary of every purchase you make. A machine that returns 40 credits a day is not worth buying if it leaves you 30 credits short on rent morning.
The second is the paper trail. Every item has an authenticity state, and every customer has a reason to want it. A fake food stamp sold to a scavenger is a small crime. The same stamp sold to a Security inspector is a case file with your name on it. The crime system guide explains how case value becomes a sentence; for now, assume that any item with a forged label can become evidence.
Day 1–2: build the counter, not the empire
Your goals are simple: learn the appraisal UI, make the first profitable sale, and identify which customers are regulars.
- Appraise the tutorial items manually. Do not use a mod or a calculator on the first day. You need to recognize the difference between base value, condition and authenticity before you can trust an overlay.
- Buy the labeler and the testing kit before extra stock. The labeler lets you correct a bad label; the testing kit lets you check water and a few consumables. Both turn unknown risk into known risk.
- Put one cheap item in the display case and one in the window. Attractiveness is a real stat and the Shiny achievement requires 1,000 at day start. You do not need to chase it yet, but an empty store sells nothing.
- Do not take a loan to buy stock on day 1. The opening loan is already a clock. A second debt before you know your customer mix is how runs die in the first week.
The first customer type you should learn is the scavenger. They pay little, test almost nothing, and will buy damaged goods that upper-level customers refuse. They are not a long-term margin, but they are a reliable early cash turn.
Day 3–4: choose one lane and one supplier
By day 3 you should know whether your store is getting water buyers, chemical buyers, weapon buyers or general goods. Pick the lane with the most repeat customers, not the one with the highest theoretical margin.
| If you see… | Open with… | Why |
|---|---|---|
| Customers asking for water, jugs or purity | Water merchant | Cheapest machine entry, easy to test, broad demand |
| Customers bringing watches, gloves, documents | Appraisal profit | Low capital, uses the counter, builds reputation |
| Customers asking for medicine or chemicals | Chemistry profit | High margin, high inspection risk |
| Customers with weapons or mods | Gun shop | Licence and parts gate, but strong ticket size |
| Customers with no questions and cash | Fence route | Fastest cash, fastest route to a raid |
One lane means one supplier relationship and one set of machines. A second lane before day 7 splits your attention and your reserve. The exception is appraisal: it is not a product lane, it is a service that works alongside any stock.
Buying a machine because it is discounted, not because your customers ask for its output. The Moisture Farm is 350 credits after 1.0.0.2, which is cheap enough to tempt anyone. It is still a bad buy on day 4 if nobody in your store buys water.
Day 5–7: convert reputation into supply
The first faction threshold usually arrives in this window. You do not need to max a faction; you need one supplier who will sell you something the general market cannot.
- Lower Levels reputation is the easiest to build and the most useful for cheap stock. Selling small goods at fair prices and not reporting every petty criminal moves it up.
- Upper Levels reputation pays better per sale but punishes fakes and bad labels. Do not chase it with counterfeit goods unless you can absorb a seizure.
- Security reputation is a tool, not a virtue. Reporting a wanted customer can clear a case or open a door, but it also tells the station you are useful to them.
- Black Market reputation is the fence lane. It grows when you move contraband and shrinks when you cooperate with inspections.
- Revolution reputation is the political lane. It opens different customers and different risks; the faction guide covers the trade-offs.
By day 7, aim for one of these positions:
- Rent for the next cycle is already in the ledger, plus a 20% buffer.
- You have one machine or one supplier that produces stock you can sell without scavenging.
- You have not sold a fake to a faction that can search your back room.
If you have all three, you are ready to scale. If you have only the first, slow down and repeat the loop.
Day 8–10: the first real decision
This is where most guides tell you to expand. Do not expand yet. The first real decision is whether your current lane can carry a second rent increase.
Run the numbers on your last three days:
- Gross sales per day. Add the counter and any machine output you actually sold.
- Cost of goods per day. Include source water, seeds, chemicals, parts and fees.
- Rent per day. Divide the next rent by the days until it is due.
- Buffer per day. What is left after rent and restock.
If the buffer is positive but thin, the correct move is to raise margin, not volume: better labels, better appraisals, a higher-value customer, or a product with less competition. If the buffer is comfortably positive, buy the upgrade that removes your slowest manual step. The money guide has the full cash-flow model.
The four mistakes that end runs
- Expanding before rent cover. A second machine is not progress if it turns a rent payment into a repossession.
- Selling a fake to Security. The short-term margin is not worth a case worth 1,500 credits. That is the execution threshold, not a fine.
- Ignoring the Augmented meter. Augs are customers and a clock. Shooting them solves the moment; the meter is a different problem. Read the Aug guide.
- Treating reputation as a score. Reputation is access. A faction at -100 is not a difficult customer; it is an ending. The faction page lists the thresholds.
What to do on day 11
Open the ledger, check the next rent, and pick one of three goals: buy the deed, clear the mortgage, or finish a challenge. The rent and buyout guide covers the closing math. If you are playing Rock Bottom, read the Rock Bottom route before day 11; the opening is different enough that a normal walkthrough will get you killed.
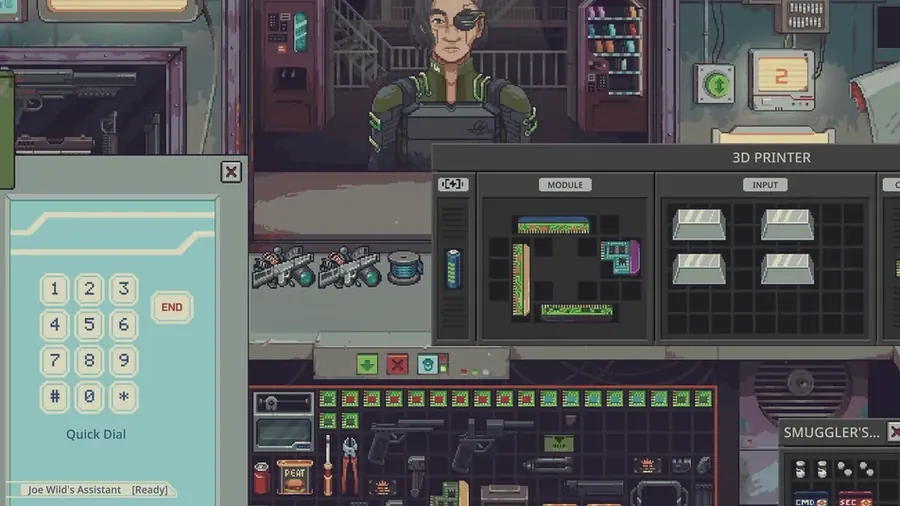
A stocked shopfront in the first week, before the first rent test changes the plan.
FAQ
How long does the first 10 days take?
About 3–5 hours at normal speed. The route is phase-based, not a fixed timer, so a slow appraisal day is fine.
Can I use it on Rock Bottom?
Yes, but skip purchases that need capital. The Rock Bottom page has a separate opening built around scavenging.
What if I miss a day?
Prioritise rent, then the next appraisal batch. Do not sell a machine to cover one bad day unless the alternative is a rent default.
Sources and version notes
- Steam store page and patch notes for Probably Stolen, build 1.0.0.6 (31 October 2026).
- In-game tutorial, appraisal board and ledger, checked on 2 November 2026.
- Machine prices: Moisture Farm 350 and Water Filter 25 after 1.0.0.2; Water Purifier 250 after 1.0.0.5.
- No exact rent figure is published here because the game scales it by difficulty and events.
Official source: Steam store ↗ · Steam guides ↗ · Steam Workshop ↗, checked 2 November 2026.
More Probably Stolen Guides
All the starting perks that matter, ranked for money, crime, water and challenge runs, with exact point costs and the best three-point loadouts.
All nine Probably Stolen starts compared by credits, rent, gear and risk, with the best pick for a first run, a profit run and Rock Bottom.
How Brewing Expansion works: the 16 seeds, 67 wine recipes, growing and aging loop, automation, profit assumptions and compatibility with vanilla winemaking.
A profit-first Probably Stolen chemistry guide: purity math, acid and base workflow, contaminant control, and which chemicals are worth the risk.
Which Probably Stolen mods actually change profit, which only save clicks, and how Brewing Expansion, WaterTower, Proficiency and CorpPresence affect a run.
The five Probably Stolen factions, what reputation unlocks, which choices raise or lower it, and the -100 thresholds that end runs.
How to fence stolen goods, hide contraband, handle raids and bribe Security in Probably Stolen without ending the run.
Which starting scenario is easiest, what to buy in the first week, and the opening order that keeps rent covered in Probably Stolen.